
Hi friends, it's Faith here!
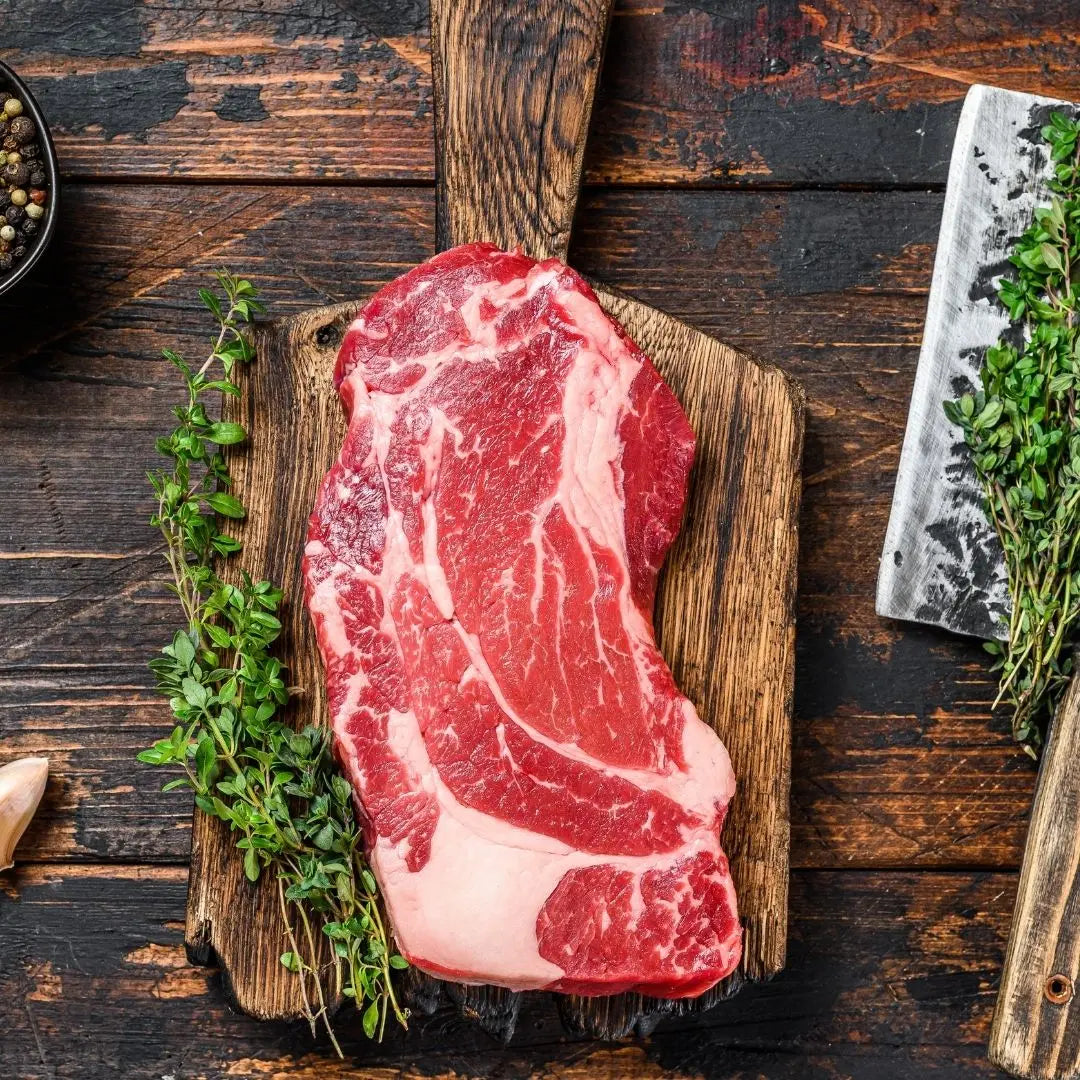
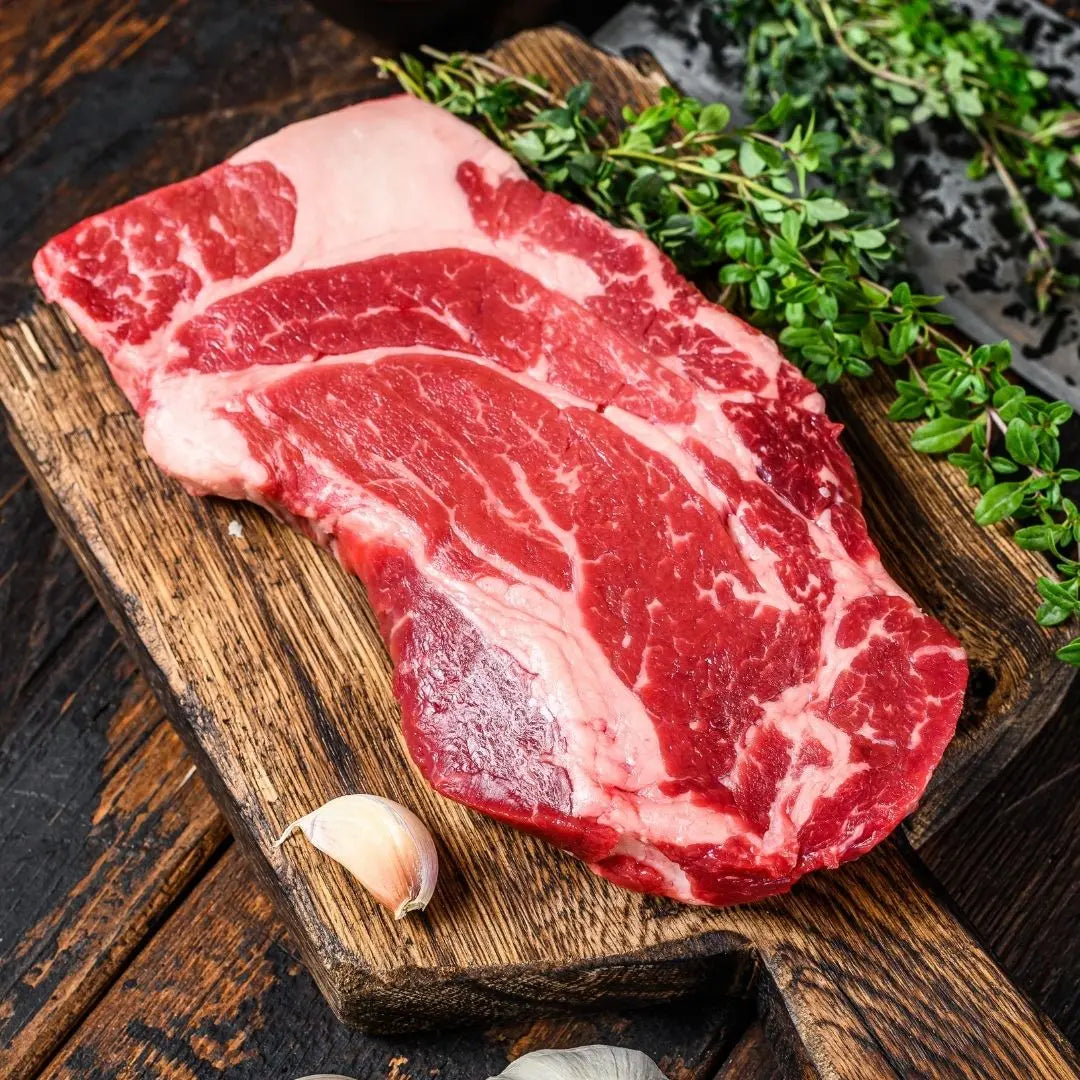
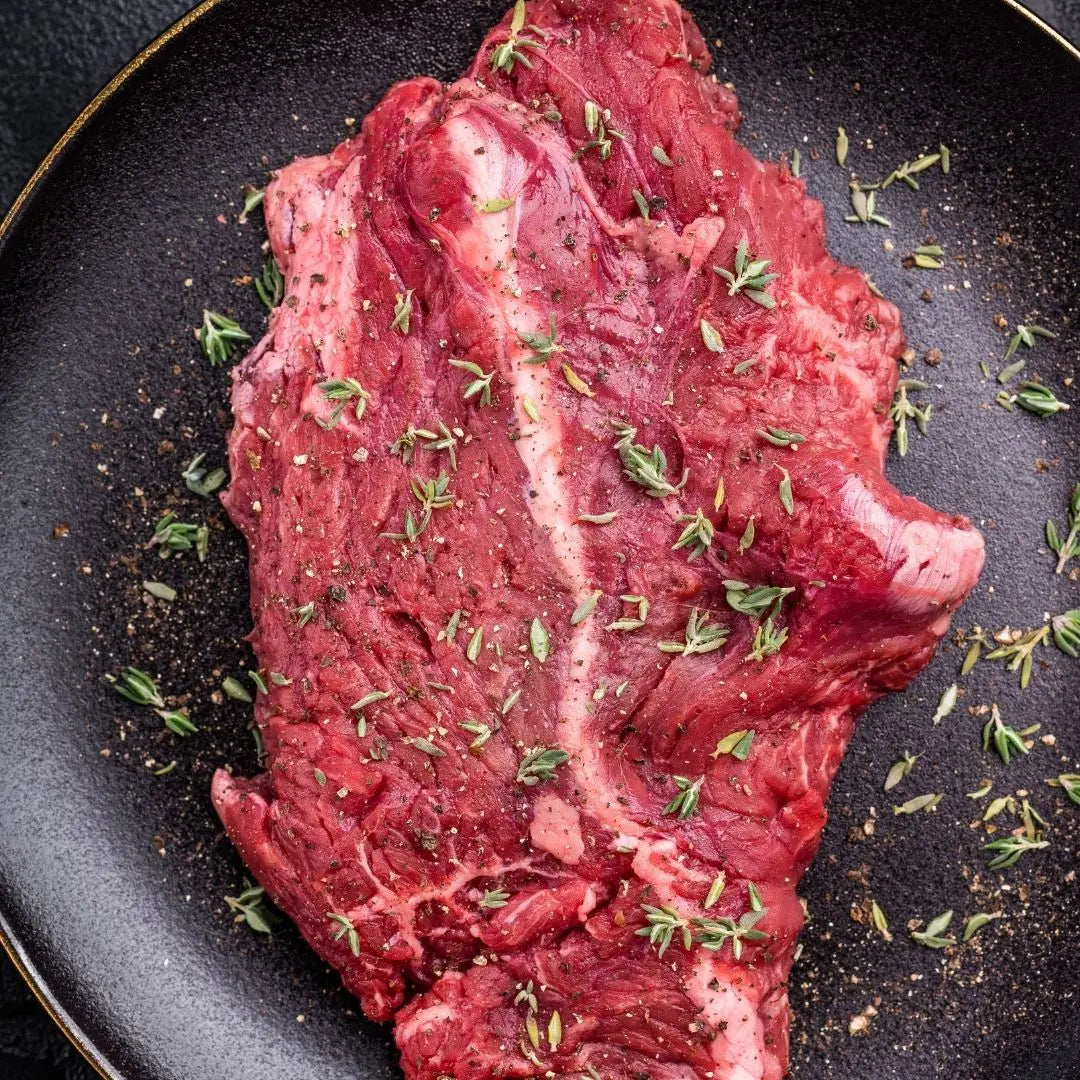
You've chosen the best quality beef, and that makes all the difference. But even the finest steak needs to be treated right to truly sing! Getting the most flavor and that beautiful, tender texture out of your A&K Land & Cattle steak starts with preparation and finishes with the right heat.
Here are my three go-to methods, from the smoky crust of the grill to the sizzle of the cast iron.
Step 1: My Secret Weapon – The Flavor Prep
No matter how I plan to cook the steak, this preparation is a non-negotiable step for guaranteed tenderness and deep flavor.
-
Open the Door to Flavor: Grab a fork and pierce your steak all over. Don't be shy! This simple trick opens up the fibers and lets the flavor soak in deep. Pop the steak into a sealable bag with 1 cup (250 mL) of marinade. (I love a classic teriyaki or a zesty Italian dressing—whatever you have in the fridge works!)
-
Let the Magic Happen: Seal the bag and tuck it into the refrigerator for 8 to 12 hours. This resting time is when your steak transforms, becoming incredibly juicy and tender.
-
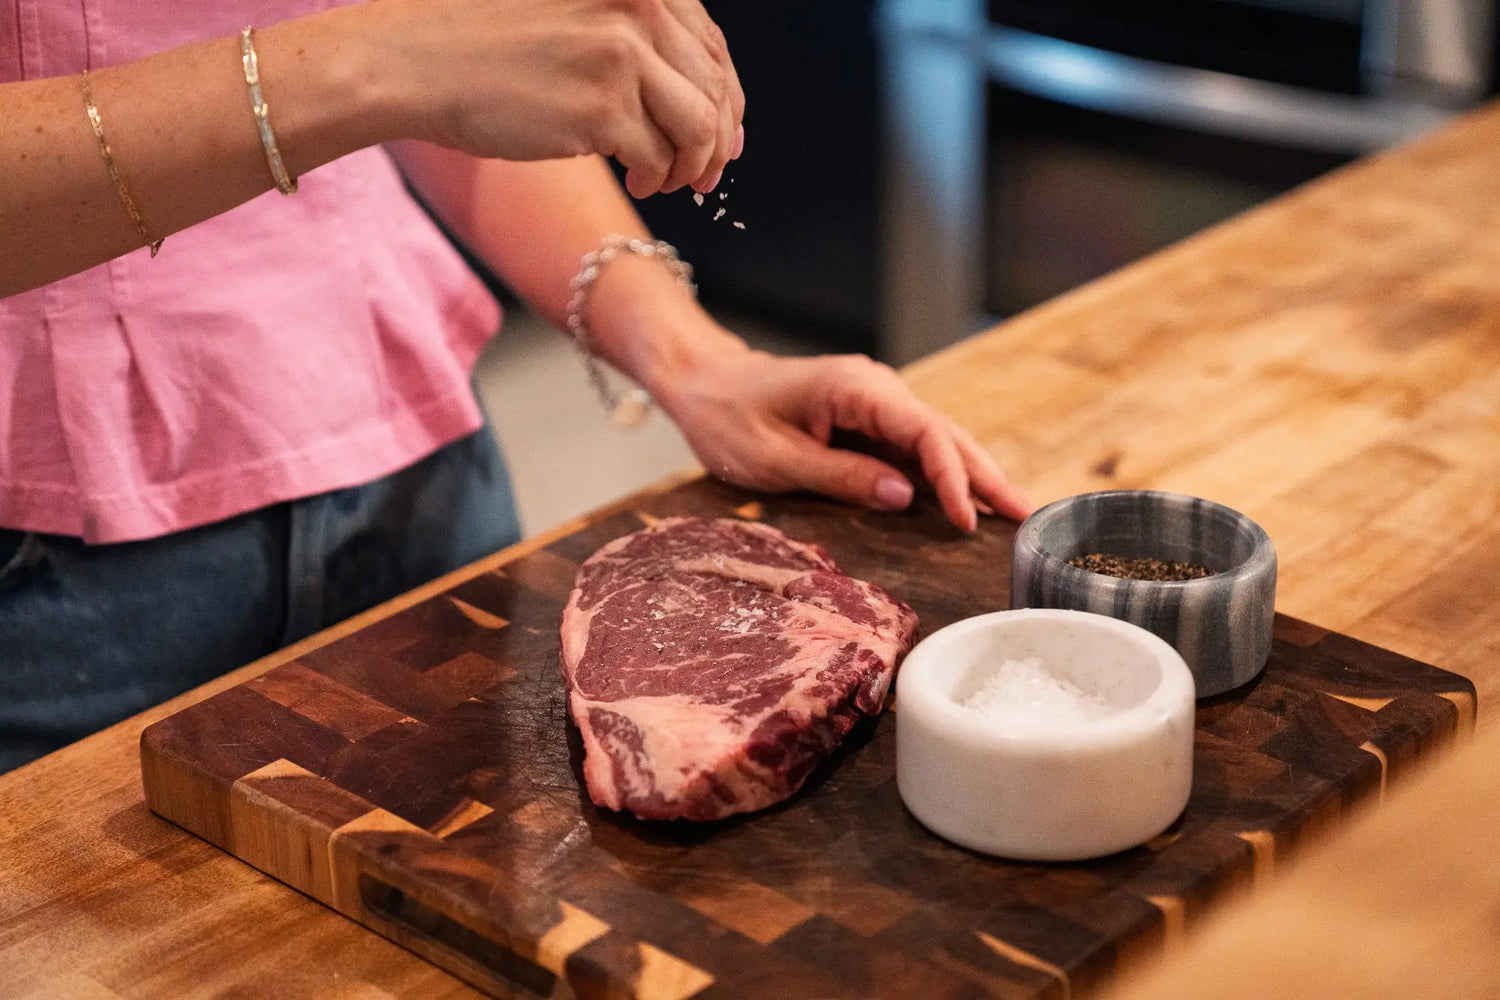
Pat it Dry, Season it Proud: Remove the steak from the marinade. Discard the used marinade, or if you want to use it as a sauce, bring it to a full rolling boil first! Now, here’s the key for a perfect crust: pat that steak completely dry with paper towels. Finally, give it a loving coat of salt and freshly cracked pepper—season to your heart's content!
Method 1: Grilling – The Classic Char (My Top Pick!)
When the weather's nice, nothing beats the smoky perfection of a grilled steak.
-
Fire it Up: Preheat your barbecue to medium-high heat (around 400°F / 200°C) with the lid closed. You want that grate screaming hot!
-
Sear, Flip, & Finish: Place the steak on the hot grill. Cook it, turning at least twice with tongs, until it reaches your preferred doneness.
-
Trust Your Thermometer: The only way to guarantee a perfect steak is by temperature! Insert a digital instant-read thermometer sideways into the center of the steak to check.
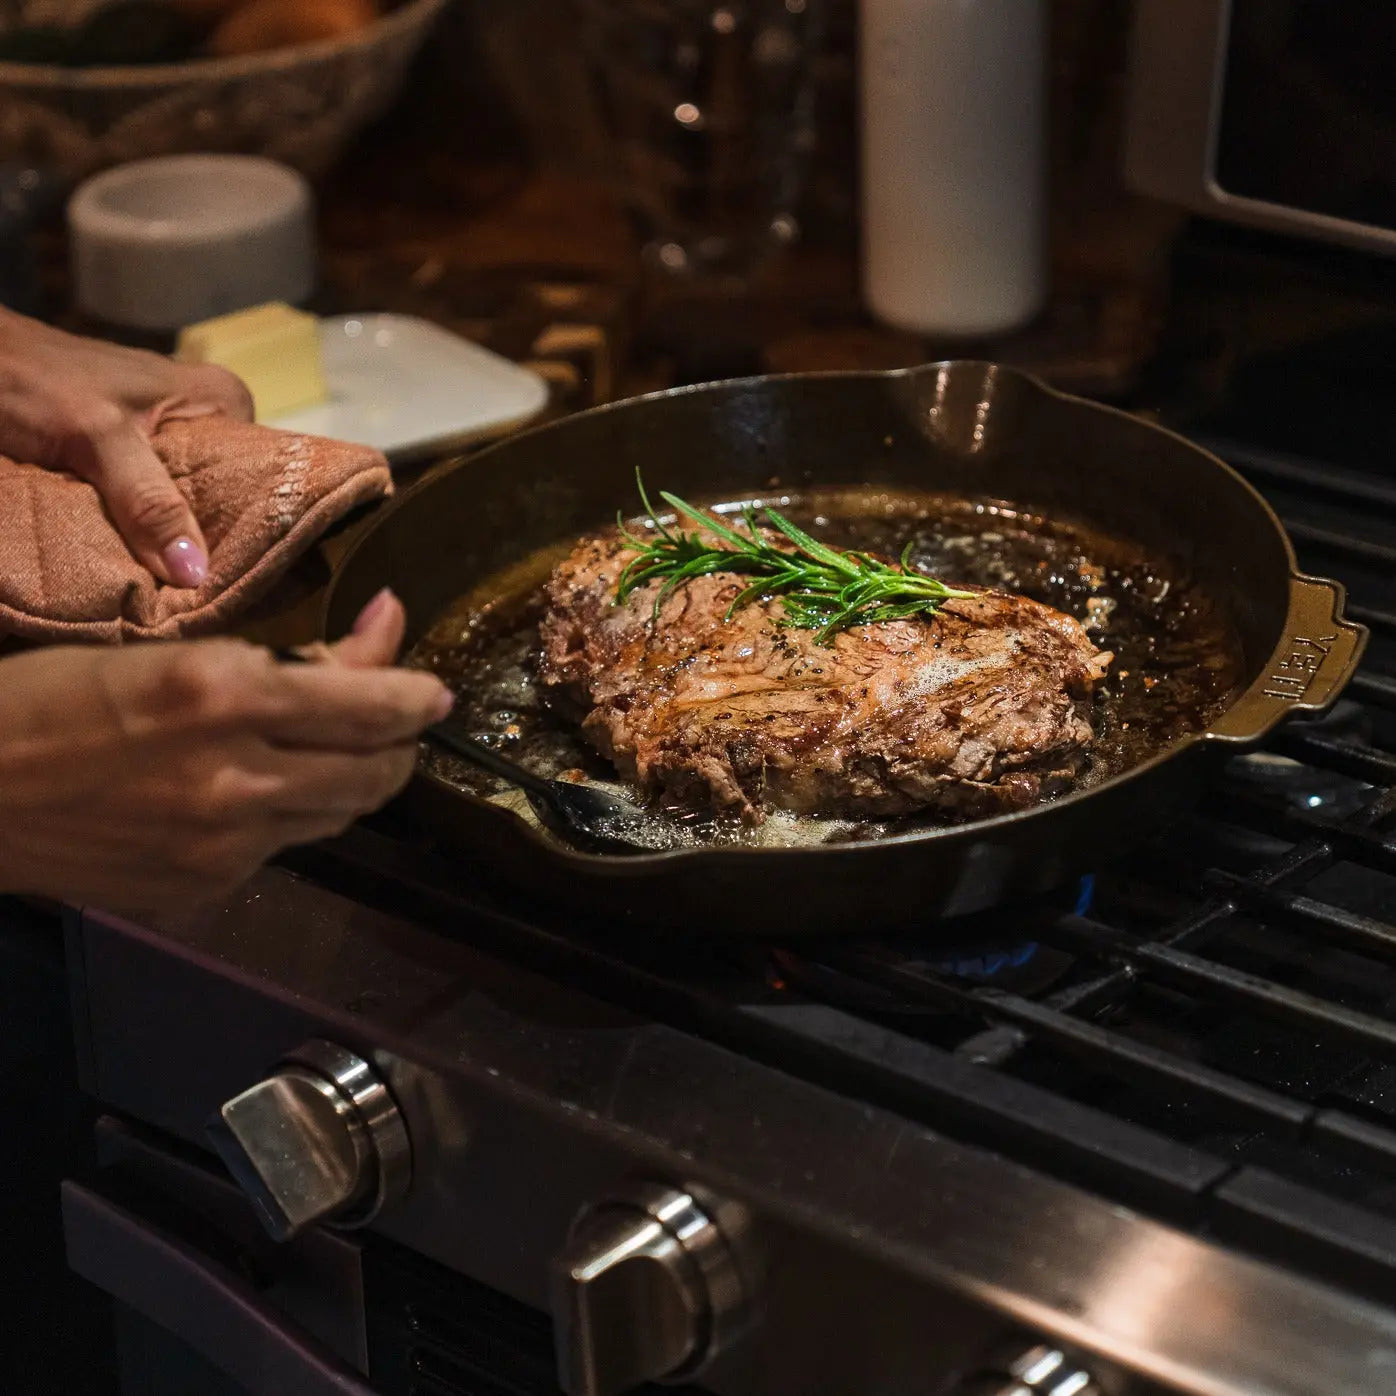
Method 2: Pan Searing – The Indoor Sizzle (My Winter Favorite)
This technique gives you the ultimate control and creates a beautifully rich crust—plus, you can use the leftover bits to whip up a quick pan sauce!
-
Get it Smoking Hot: Add a splash of canola or sunflower oil to your heaviest skillet (cast-iron is perfect!). Heat it over high heat until the oil is shimmering but not quite smoking.
-
Sear to Perfection: Add your steak (don't crowd the pan!). Let it cook until the underside is deeply browned and the steak releases easily from the pan when you nudge it.
-
Flip & Check: Turn the steak with tongs. Cook the other side until browned and the thermometer confirms the internal temperature.
Method 3: Broiling – Quick & Convenient (The Easy Weeknight Meal)
No outdoor grill? No heavy skillet? No problem! Your oven's broiler is a powerful tool for quick, intense heat.
-
The Set-Up: Line a baking sheet with heavy foil and place a rack on top (or, for a quick meal, use a layer of thick-sliced onions and peppers instead!). Move your oven rack to the top position, about 3 inches (7.5 cm) from the broiler element, and preheat your broiler until it’s piping hot.
-
The Curling Fix: Slash the edges of the steak a few times with a knife. This keeps it from curling up under the intense heat. Place it on your rack or veggies.
-
Broil & Turn: Slide it under the broiler and cook until the top is well-browned. Flip the steak and cook the other side until you've reached that beautiful, savory crust and the thermometer confirms doneness.
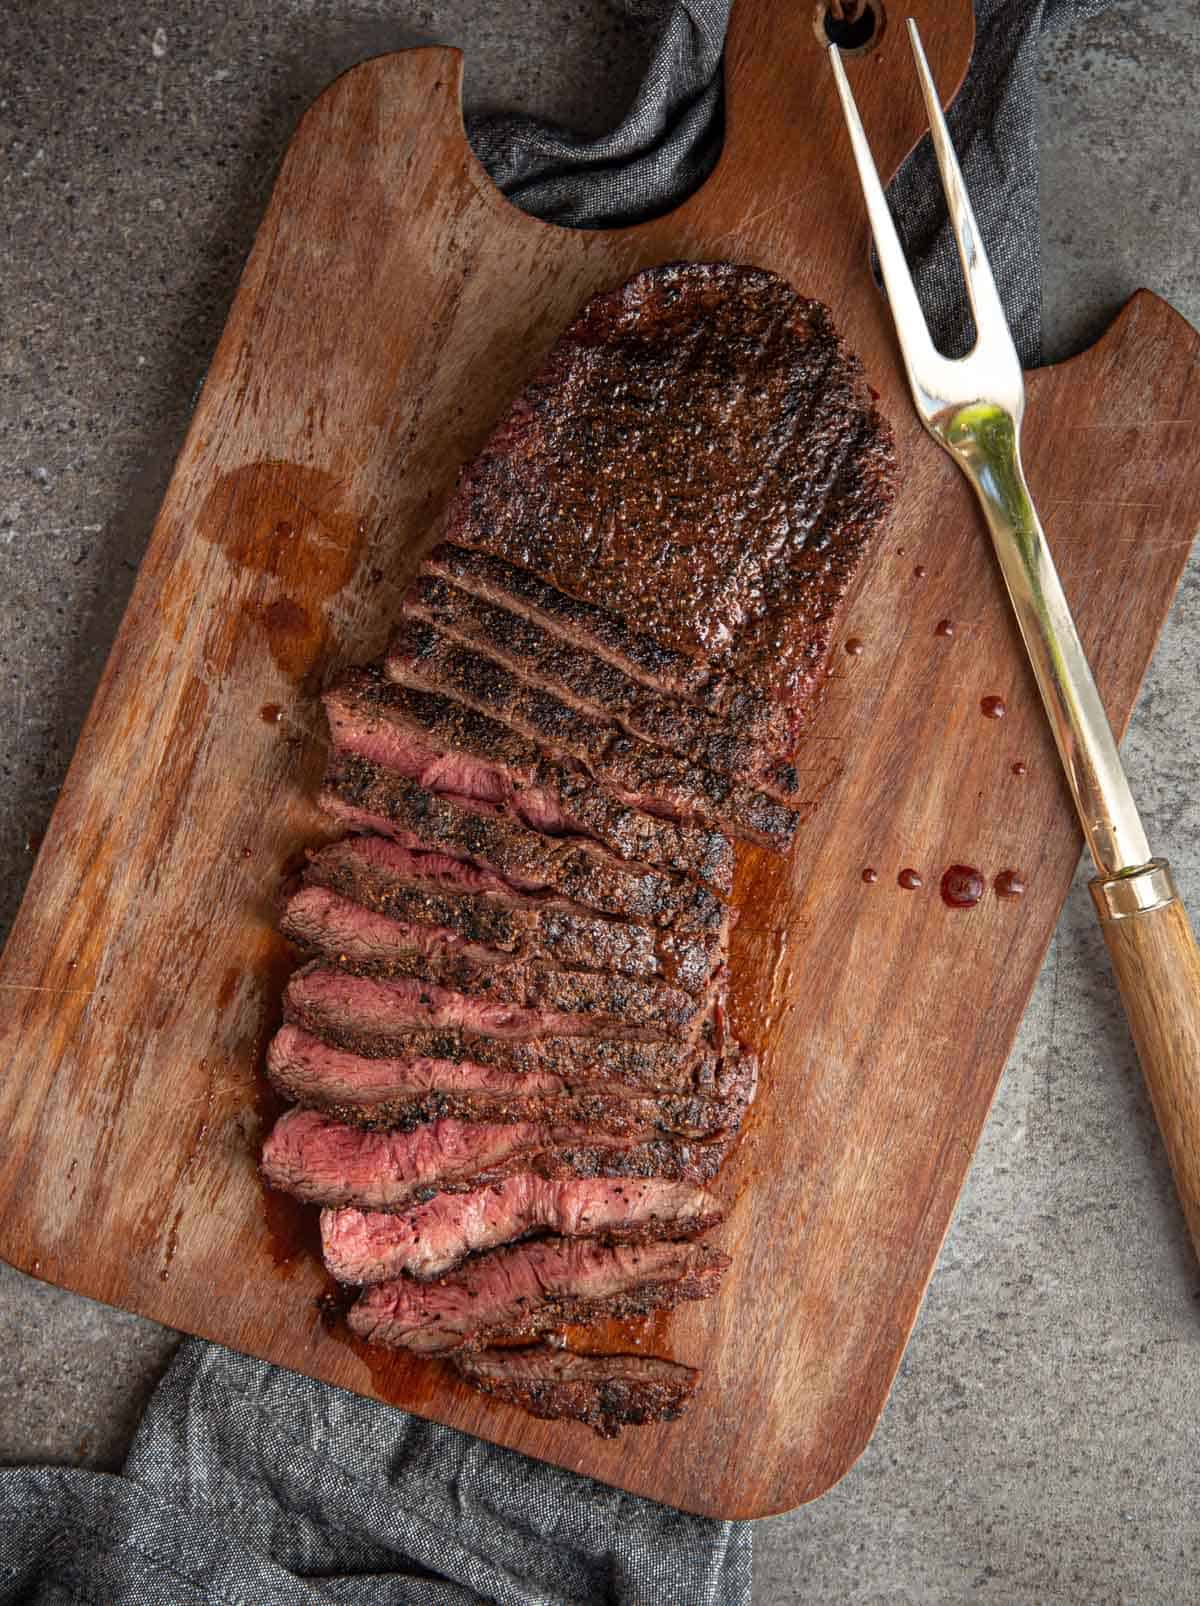
The Most Important 5 Minutes of Your Cook
You’ve done all the hard work—now you must honor the rest.
-
Rest: Transfer the cooked steak to a cutting board or plate and let it rest for a full 5 minutes. This step is non-negotiable! It lets those precious juices, which are all clumped up in the center, flow back out through the meat, guaranteeing a juicy bite every time.
-
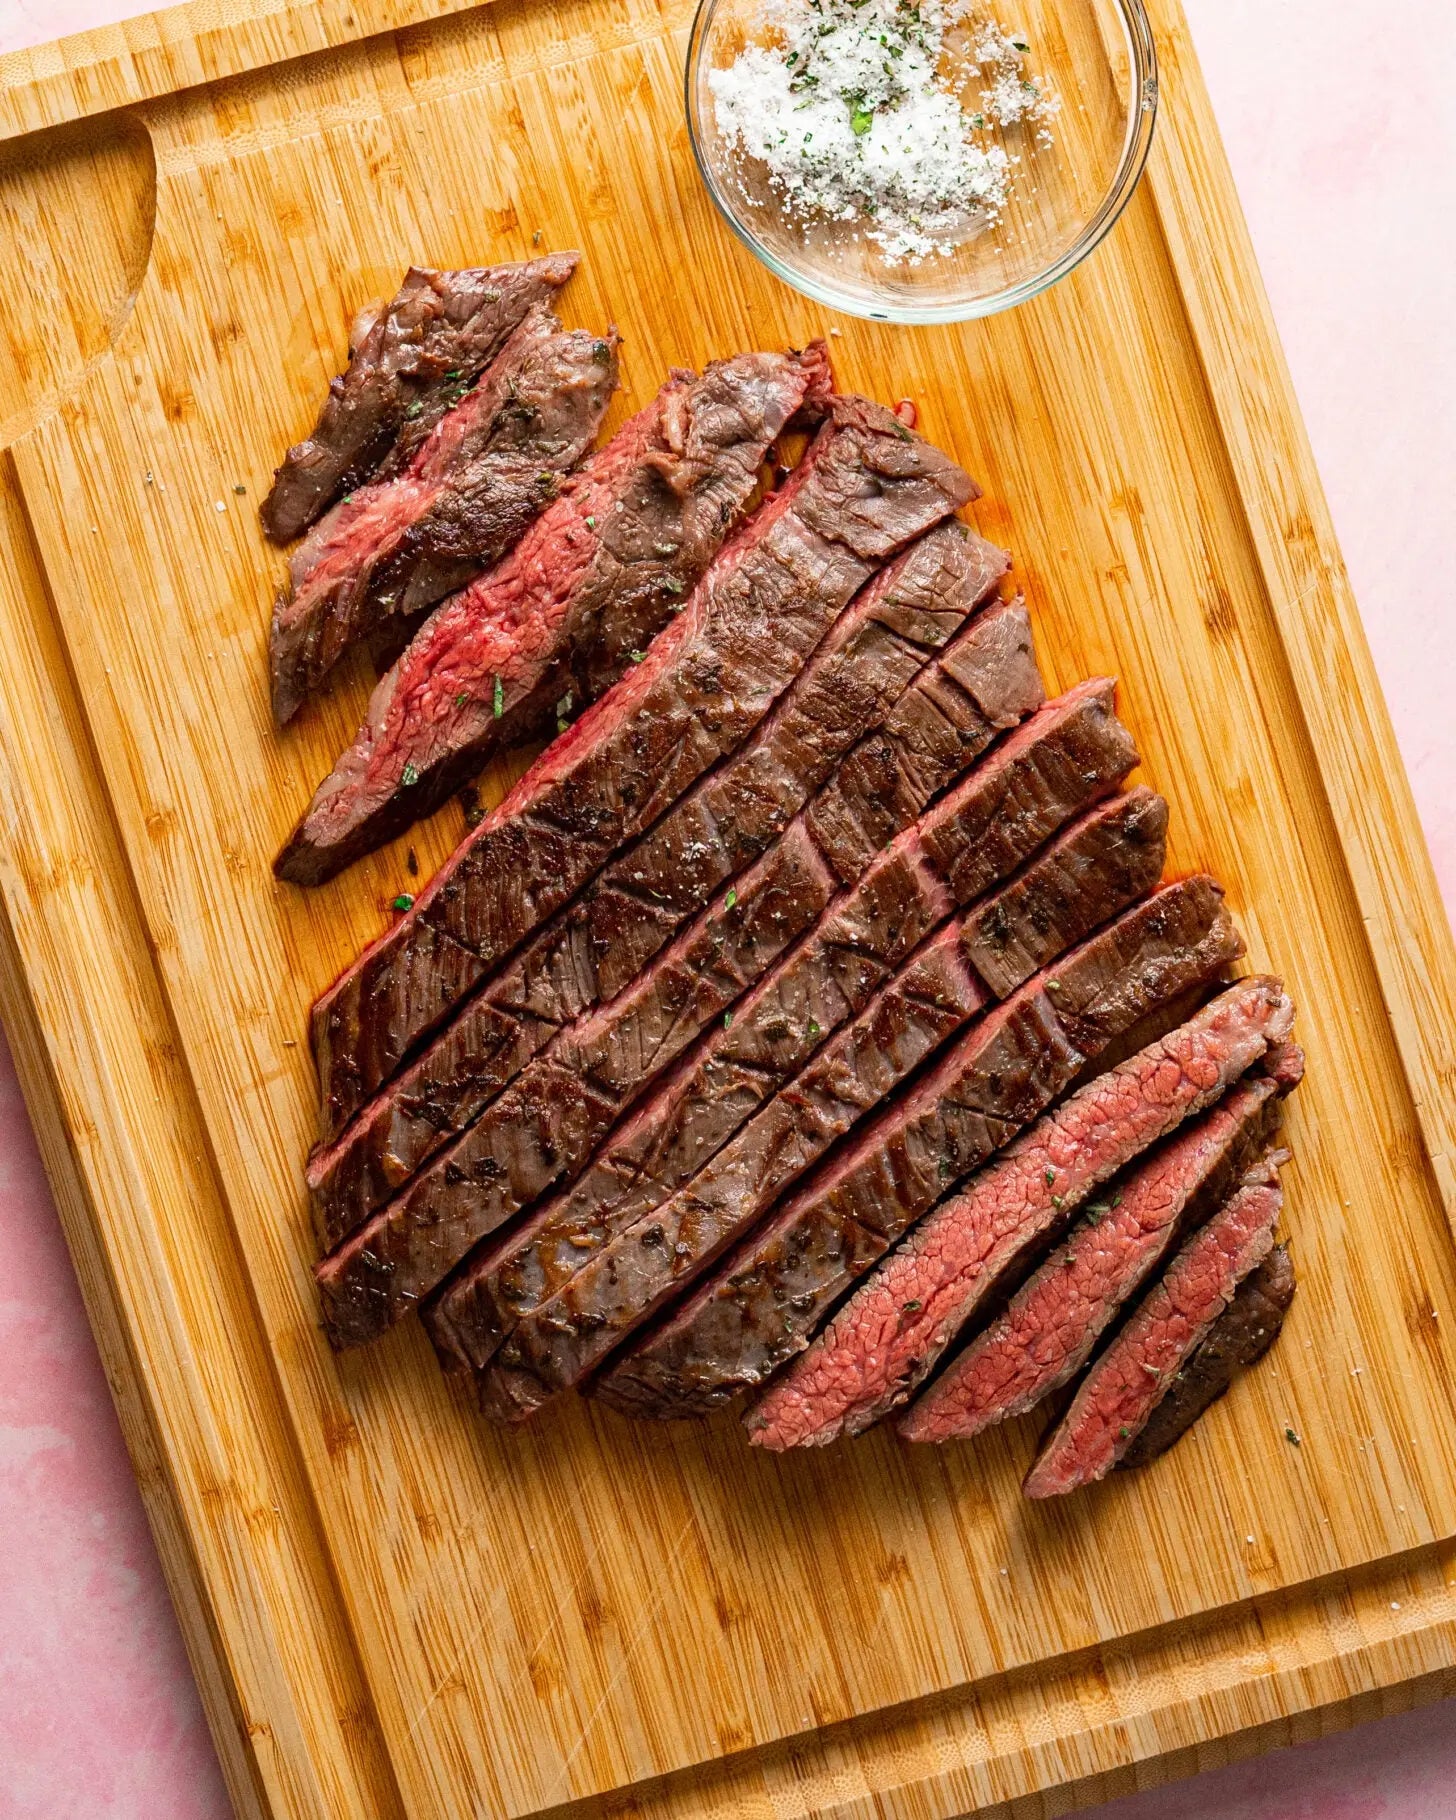
Slice & Serve: Serve the steak whole, or, for maximum tenderness, slice it thinly against the grain.


1 comment
These are great looking recipes, Faith! Thanks for sharing. Winter is here in South Dakota also, so I find myself using my Tastee air fryer more than my grill, right now.
Thanks to your family for producing this amazing beef, and thanks to the Cows, for making it possible.